


M-F: 9 A.M - 5 P.P. EST
ADD:Licang District, Qingdao City, Shandong Province,China 266000
Whatsapp:+8615954188567
E-mail:linda@selfelashes.com
Nov. 21st 20204 min read
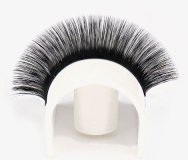
Once you’ve mastered the basics of lash extensions, it’s time to try to speed up your appointments by lashing faster. If you can speed up your lashing, you’ll be able to fit in more clients, meaning you can earn more money as an artist.
Learning how to lash faster, however, is no easy task. Every micro-movement matters, from the placement of your lash tile to how you dip your glue to how fast you can isolate your lashes.
In this article, you’ll learn how to lash faster by speeding up your isolation techniques. Let’s dive in!
HOW TO ISOLATE LASHES FASTER
When you’re trying to lash faster, you need to isolate faster.But you can’t simply move more quickly to try to lash faster. If you try to isolate too fast without using proper technique, you may damage your client’s natural lashes. The key is to speed up isolation while still maintaining clean isolation, so no natural lashes stick or clump together.
Here are 4 ways to speed up your isolation technique.
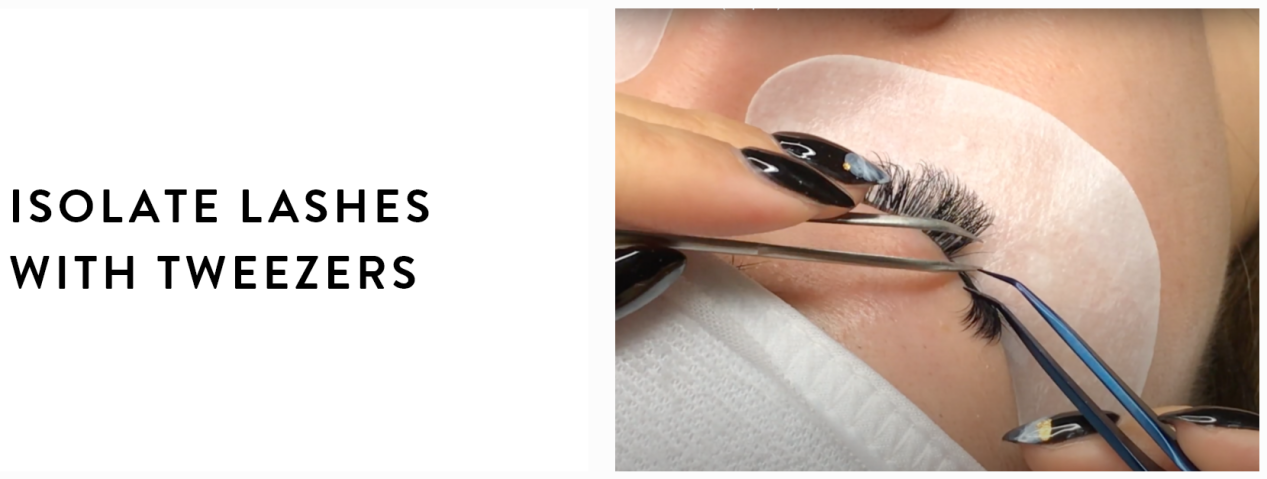
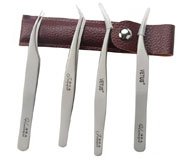
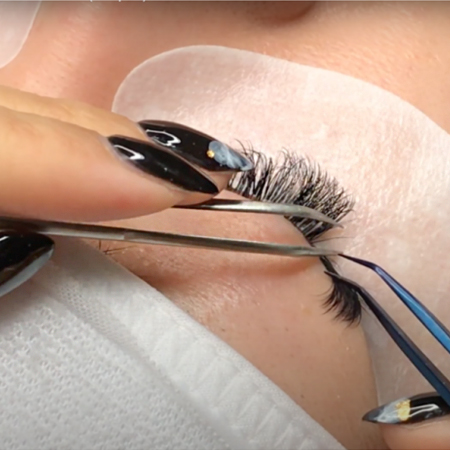
#1: ISOLATE LASHES WITH BOTH TWEEZERS
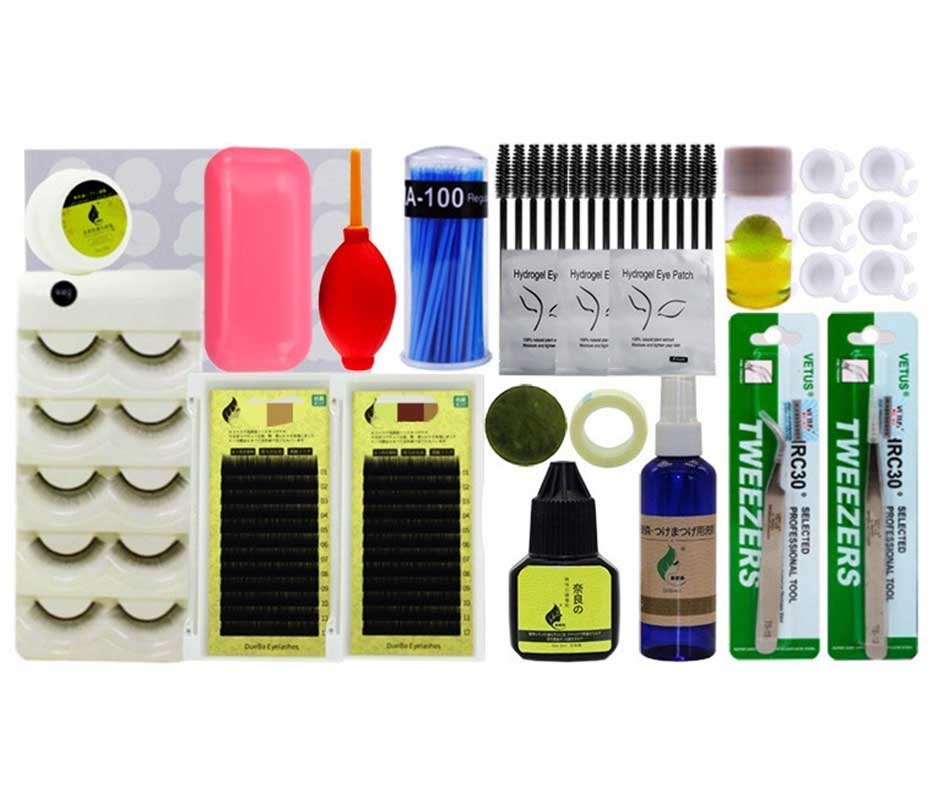
Many artists forget to use their pick up tweezers(click to) when isolating. But using both tweezers makes it much easier to maneuver and isolate your client’s tiny baby lashes.
When using both tweezers to isolate, you want to angle your isolation tweezer downwards, towards the lashes. At the same time, you’ll angle your pick up tweezer upwards, lifting and moving the lashes away to create a clean field of vision and make isolation easier.
Every artist’s hands are different: you’ll want to play around with the exact angle of your tweezers to find what works best for you.
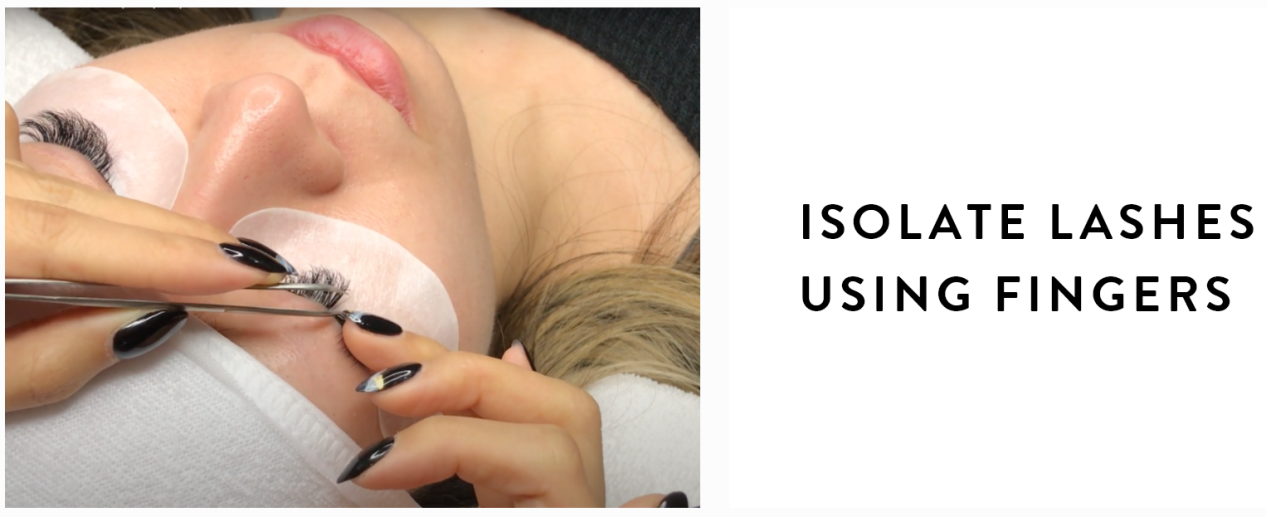
#2: ISOLATE LASHES USING YOUR FINGERS
Finding using two sets of tweezers clunky? You can also isolate using your own fingers. This method works best when your client already has extensions attached, because your fingers can be a bit too bulky to get in and maneuver tiny lashes that are close to your client’s eye. If your client has extensions already, you can use your ring finger to move the majority of the lashes aside, allowing you to more easily isolate using your tweezer on the other hand.
Remember to wash your hands extra carefully if you decide to isolate using your fingers! Safety and hygiene should always be your biggest priorities.

#3: ISOLATE LASHES USING TAPE
Tape(click to) can be a helpful tool if you’re working with a client that has a dense lash line and lots of lashes. Depending on what tape you’re using and how sticky it is, you may want to detack the tape first so you don’t cause your client any unnecessary pain. You can easily detack the tape on your arm before you apply it to your client.
Tape makes it super easy to isolate one layer of lashes at a time… meaning no more stickies!
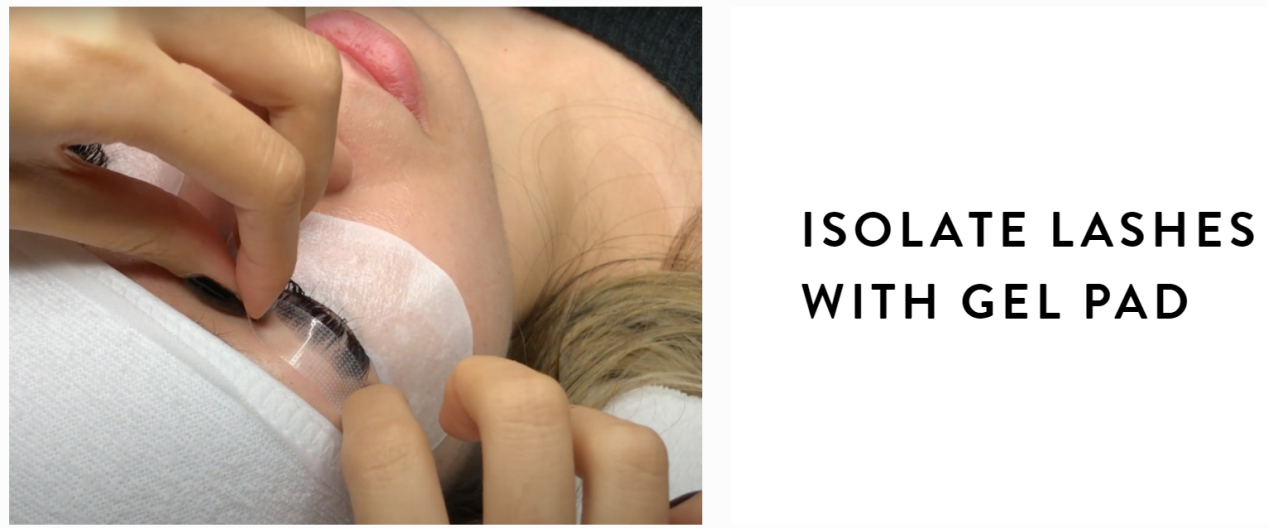
#4: ISOLATE LASHES WITH GEL PAD
If you’re working with a sensitive client (or just want a more gentle option than tape), try using a gel pad(click to) instead of tape. Gel pads are great if you want to keep readjusting and repositioning throughout the appointment. They come off and reapply seamlessly, meaning you don’t need to worry about accidentally hurting your client or pulling out lashes like you do with tape.
Gel pads also work particularly well with clients that are wearing concealer or foundation, so try them if you have a client whose makeup is done when they walk into your salon. You’ll use a gel pad the same way you use tape: to isolate one layer of lashes at a time and prevent stickies.
WHATSAPP USto get SELFE LASHES VIP DISCOUNTS
RECENT POSTS
(About strip lashes) How to choose the most suitable eyelashes for yourself?
Oct. 3rd 2021(About Strip Lashes) How to care about lashes?
Oct. 5th 2021(About Strip Lashes)How much do you know about magnet eyelashes?
Sep. 15th 2021(About Strip Lashes) What is the difference between faux mink eyelash real mink eyelash?
Aug. 18th 2021(About Strip Lashes) How can I choose the best band for me? Black band or transparent band?
Jul. 19th 2021(About Eyelash Extensions)How to Sleep With Eyelash Extensions?
Jun. 19th 2021(About Eyelash Extensions)How Long Do Lash Extensions Last?
May. 31st 2021(About Eyelash Extensions)What’s the Best Cleanser To Use With Lash Extensions?
Apr. 25th 2021Sign up to get the latest on sales, new release and more...

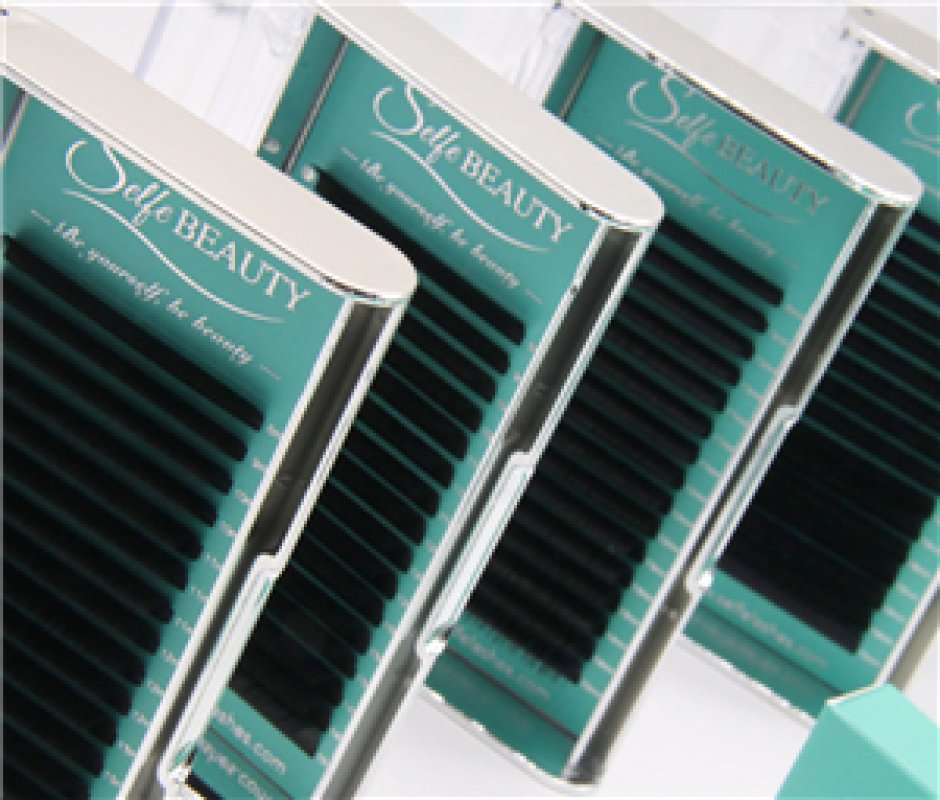
Be yourself, be beauty.
Bring the salon home
M-F: 9 A.M - 5 P.P. EST
ADD:Licang District, Qingdao City, Shandong Province,China 266000
Whatsapp:+8615954188567
E-mail:linda@selfelashes.com
Tsingtao Selfe Beauty Cosmetics Co. Ltd SITE MAP

Linda Liu

Tiffany Li

Doris Wang